
For pilots looking to improve FPV drone performance, clean wiring and effective soldering are essential. As an experienced FPV Pilot with nearly three years in the hobby, I’ve learned that improving your FPV drone’s performance is just rewarding as flying it. As your skills grow, so does your ability to fine-tune and optimize your gear for better results. For beginners, upgrading and optimizing your existing drone build can be challenging without the right guidance. That’s why I’ve created this Article to help you enhance your drone’s performance while maintaining a clean and efficient setup.
From my experience experimenting with different building techniques, I will walk you through practical tips and strategies to get most out of your quad. I will share step-by-step instructions and tips to help you make your drone fly better! Let’s get started Dromies!
Best ESC Soldering Tips for Clean FPV Drone Builds
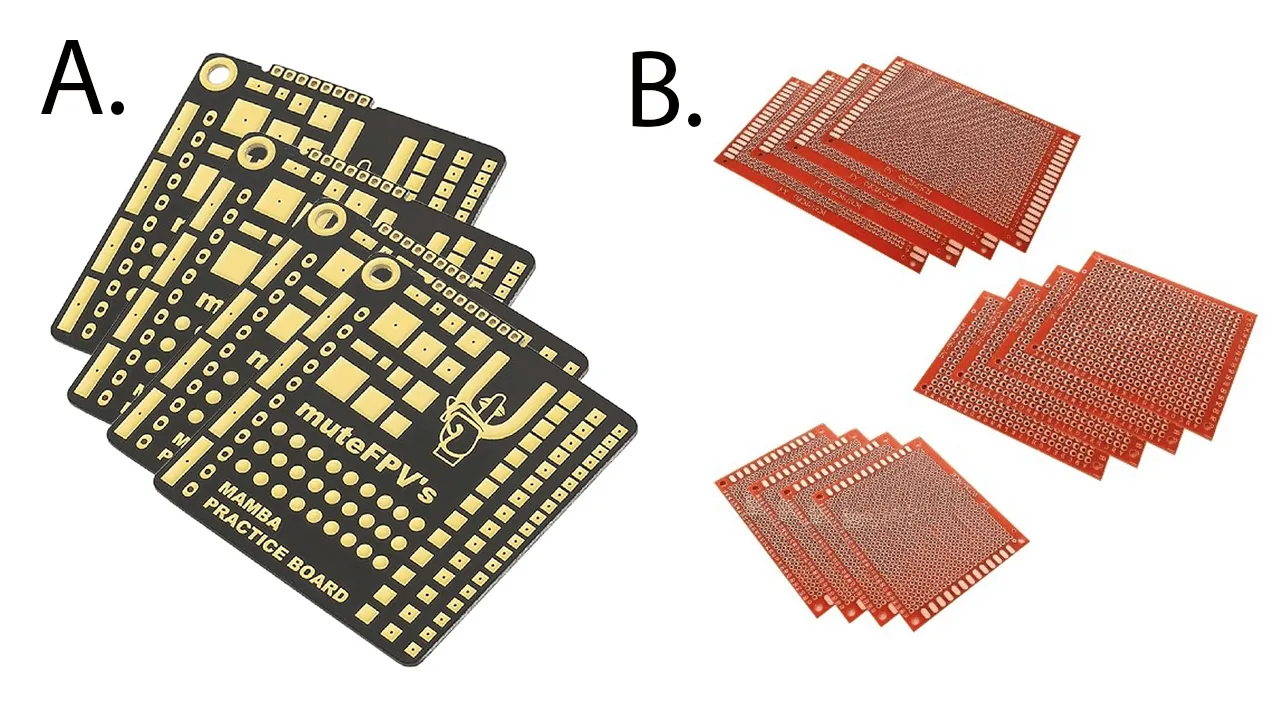
Using Practice Board When ESC Wiring/Soldering
If you are new to soldering, I highly recommend starting with a practice board to avoid damaging your main components. Some flight stacks like Diatone Mamba (A) include practice boards specifically designed for this purpose.
If you don’t have access to a Dedicated practice board, you can use a prototype board (B) as an alternative. It’s a great way to develop your soldering skills. Refer to the images below for example.
Choose the Right Solder
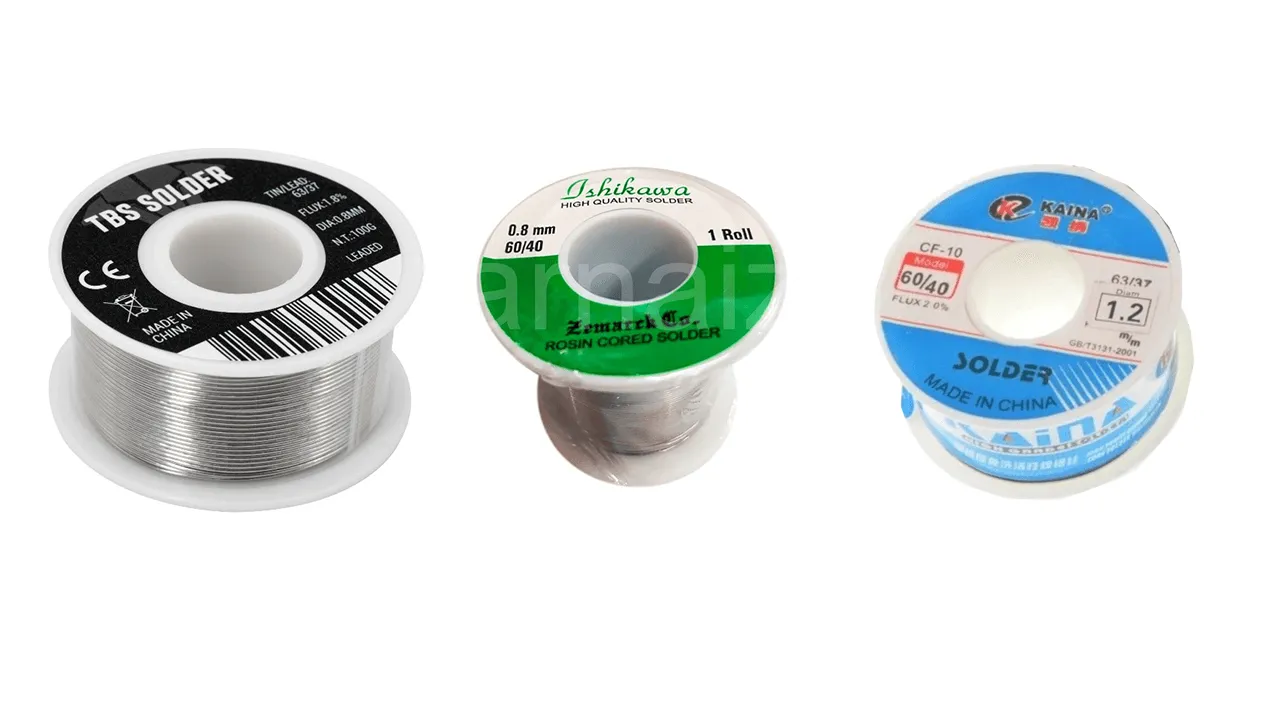
For Soldering, I use 0.8mm 60/40 Rosin-Cored Solder from Ishikawa. It’s a popular brand here in the Philippines. While I’ve tried other brands, this on stands out as the best for its excellent quality, quick melting properties, and affordability. It’s also widely recommended by local technicians for its reliability
If Ishikawa isn’t available in your area, I recommend using TBS solder or other high-quality alternatives. for your convenience, here are some links to purchase reliable solder options:
- Ishikawa Solder: https://shorturl.at/6DDQ3 or https://shorturl.at/VNrVH
- ESPLB CF-10: https://shorturl.at/0cLWi
- TBS Solder: https://shorturl.at/YiOBW
To make soldering easier and more efficient, it’s important to use the right soldering iron tips for different types of pads. For ESC pads, I recommend using a 2.4D Beveled tip, which provides better heat transfer and coverage for larger surfaces. For smaller pads like the ones in flight controllers, a B-size conical tip is ideal for precise accurate soldering.

Soldering Tips for Cleaner Builds
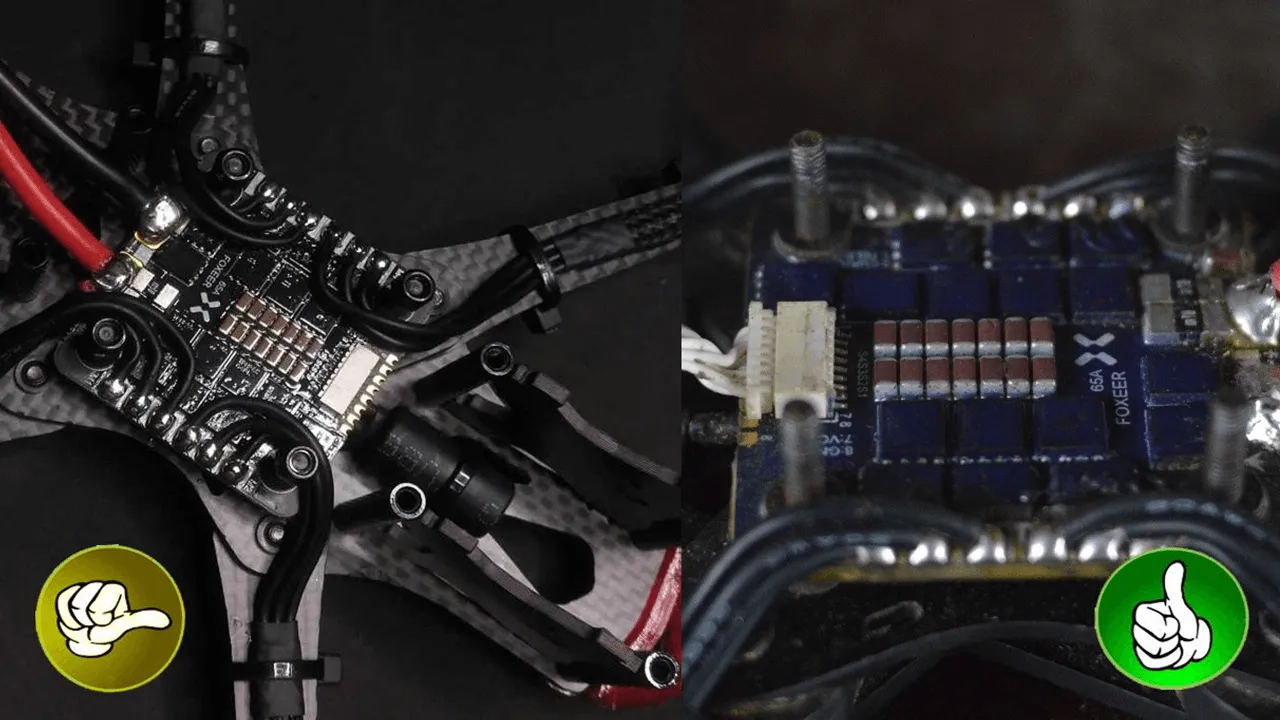
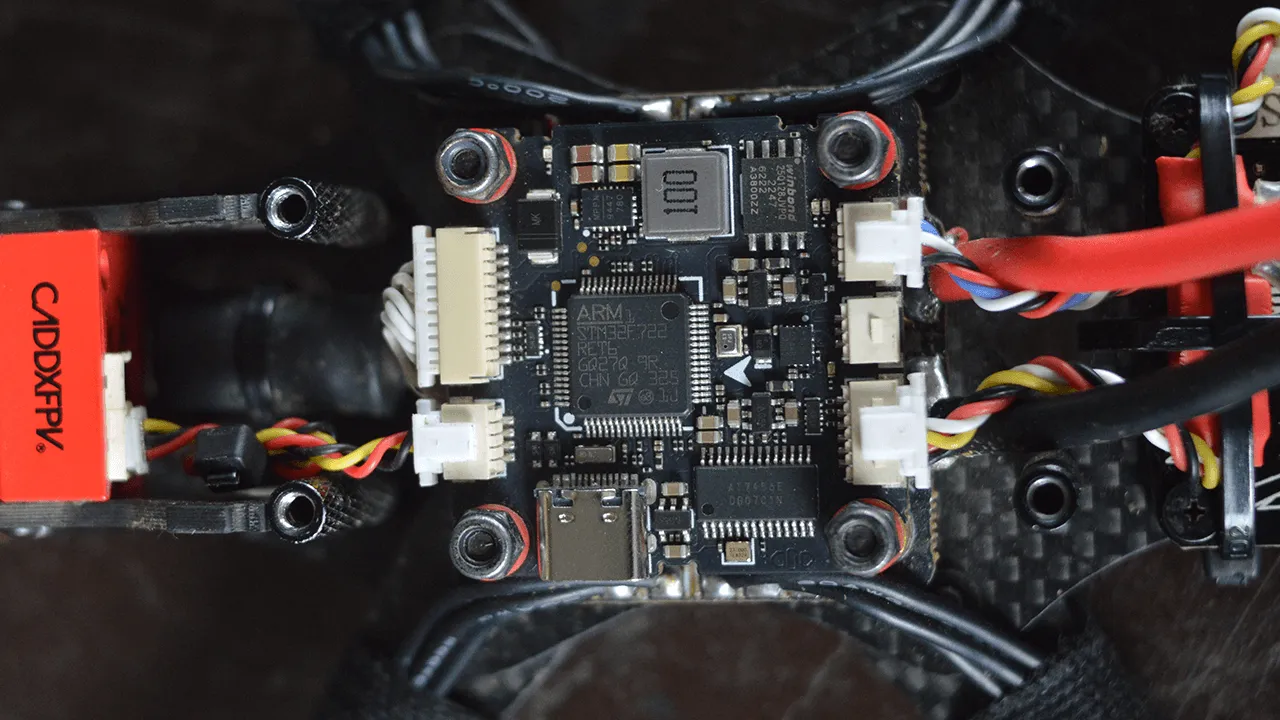
For improved ESC wiring, consider soldering the wires in a way that avoids routing them around the stack screws. While routing wires around the stack screws is a popular method, I prefer using the racers’ technique. This approach is more efficient, slightly reduces the overall weight of your quad, and minimizes vibrations or noise that could interfere with your flight controller’s gyro. Additionally, it gives your build a cleaner, more professional appearance one of the reasons why many drone racers favor this method.
It’s also important to ensure your soldering work is uniform and consistent. uniform soldering not only enhances the aesthetics of your build but also ensures there are no issues with the connections that could impact your FPV drone’s performance. For reference, please see the image below.
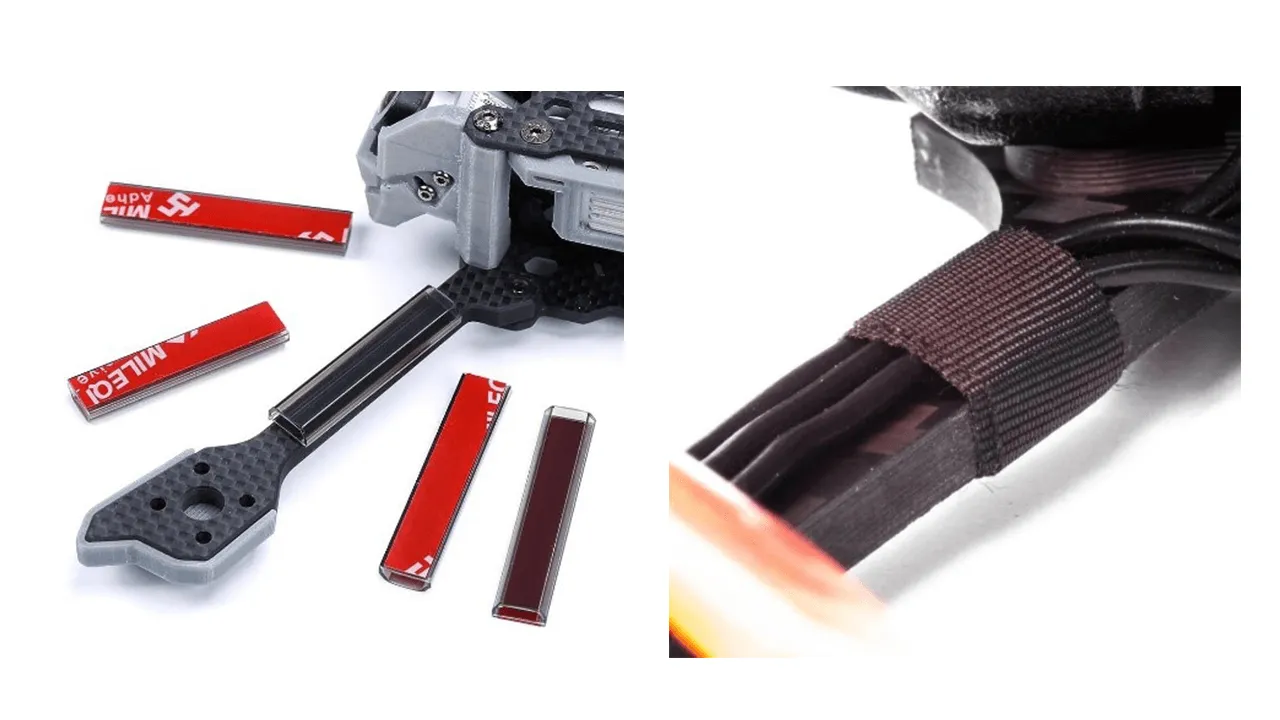
Secure Motor Wires
To complete the motor-to-esc installation, secure the motor wires along the quad’s arms. You can use electrical tape for a simple and effective solution, ensuring the wires are snug but not overly tight. Alternatively, consider using motor wire shields for added protection against wear and tear, especially during crashes.
Both methods help keep your build neat, secure, and durable, ensuring optimal FPV drone performance.
Best FC Installation/Wiring Tips to Improve FPV Drone Performance
Clean and Organized Wiring
Just like with the ESC, maintaining clean and organized wiring for your flight controller (FC) is essential to prevent unwanted electrical noise that could disrupt your gyro’s performance. A simple yet effective tip is to twist your wires after soldering them. This not only minimizes interference but also enhances the overall appearance of your build, giving it a cleaner and more professional finish. Additionally, ensure no wires are routed directly over the gyro chip. Keeping this area clear helps reduce electrical noise and prevents potential disruptions to the gyro, resulting in smoother and more reliable flight performance.
If you want to make the wiring process easier, consider using a plug-and-play flight controller. While optional, it’s a great choice for those seeking convenience and a more streamlined, polished look for their drone
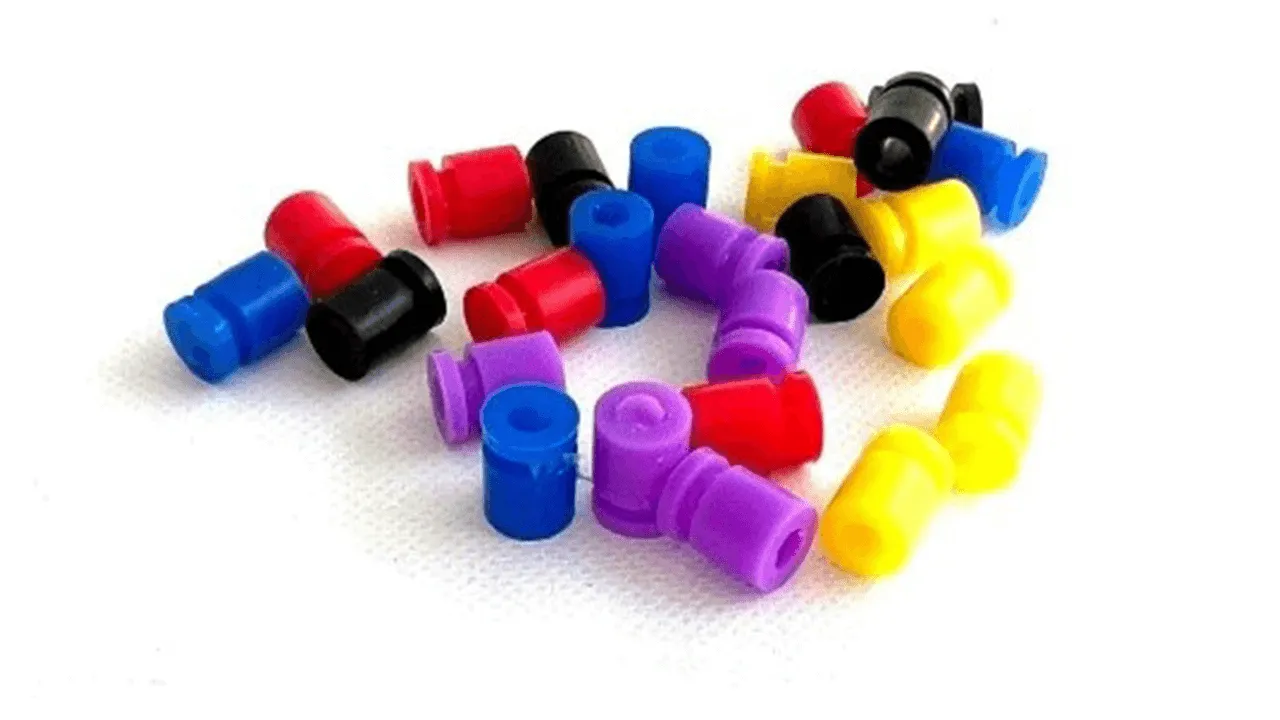
Optimize Rubber Gummies
Rubber gummies, or dampers—whatever you prefer to call them—play a critical role in the performance of your quadcopter. Often overlooked or discarded, these tiny components can significantly impact how smoothly your drone flies. I will show you how to optimize their use for better performance.
As we know, gummies are designed to minimize vibrations from the frame, but improper use can negatively affect your FPV drone’s performance (from experience). Here are a few tips to ensure you get the most out of them:
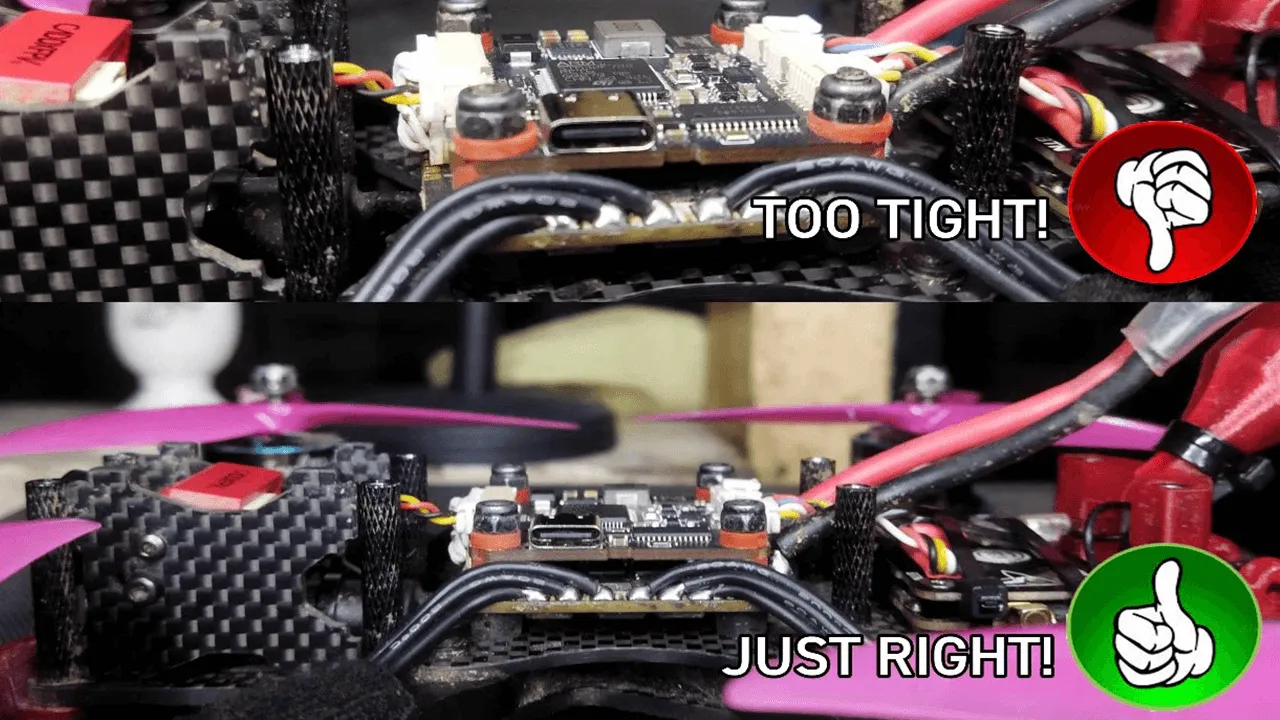
- Avoid Over-Tightening Nuts: When securing your flight controller, avoid tightening the nuts too much. Over-tightening can transfer vibrations directly to the FC, leading to hot motors and suboptimal performance. Ensure all four nuts are evenly tightened for balance.
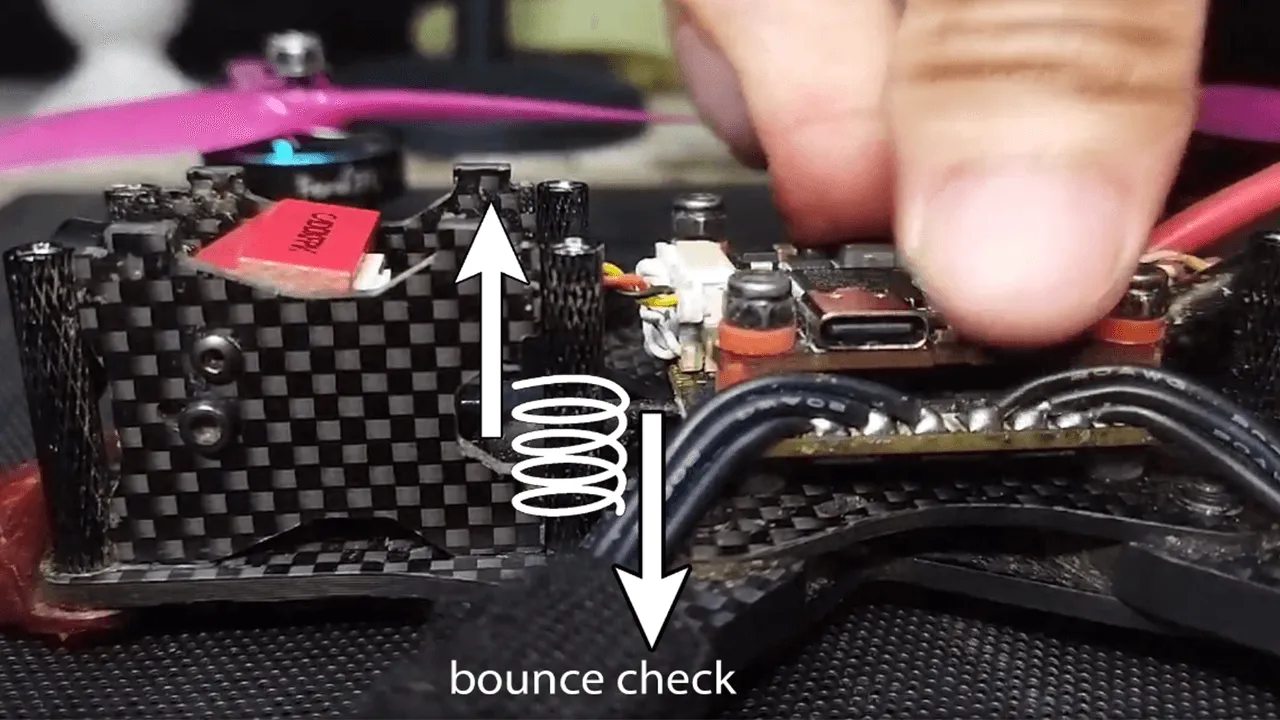
- Check FC Movement: Your flight controller should have a slight amount of play when pressed. This flexibility allows the gummies to properly absorb frame vibrations, improving overall flight stability.
- Inspect Your Gummies: Ensure the gummies are soft and in good condition. If they’ve become hard or brittle, replace them to maintain effective vibration dampening.
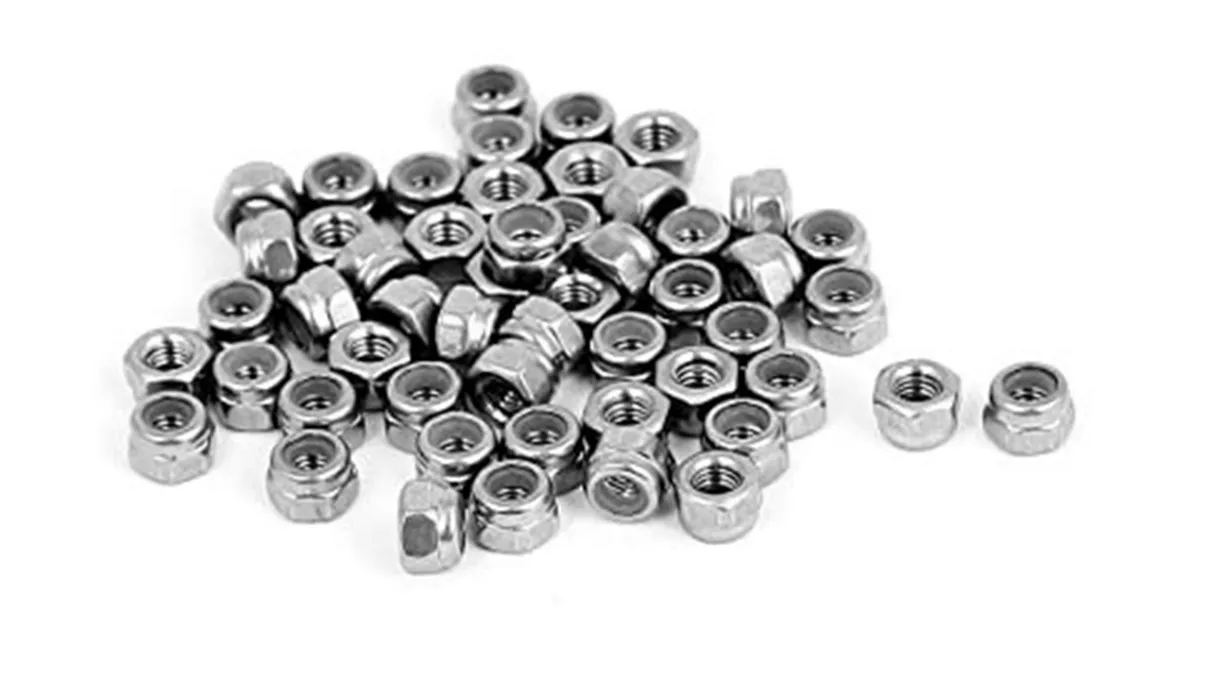
- Use Metal Nuts: For a more secure and durable fit, opt for metal nuts instead of plastic ones. This can provide better long-term reliability for your build
By following these steps as part of your flight controller installation, you can ensure smoother flights, reduce vibrations. Small adjustments like these can make a noticeable difference in your FPV drone performance.
Analog Feed Tips/Hacks
Reducing Video Feed Noise
If you’re using a digital system, you can skip this section. However, many new pilots choose analog systems because they’re more affordable. If you’re experiencing excessive noise in your video feed, there are simple ways to improve it.
First, try twisting your wires to reduce electrical noise. If the issue persists, install an LC filter to eliminate interference. An LC filter is a small device that smooths out your power supply by using an inductor (L) and a capacitor (C), providing cleaner power for your FPV equipment. You can install one on the power line to your video transmitter (VTX) and even add another to your FPV camera for extra noise reduction.
This setup can significantly improve video quality for a clearer and more reliable feed. You can purchase LC filters here: iFlight LC Filter Module.
For reference, see the image below.

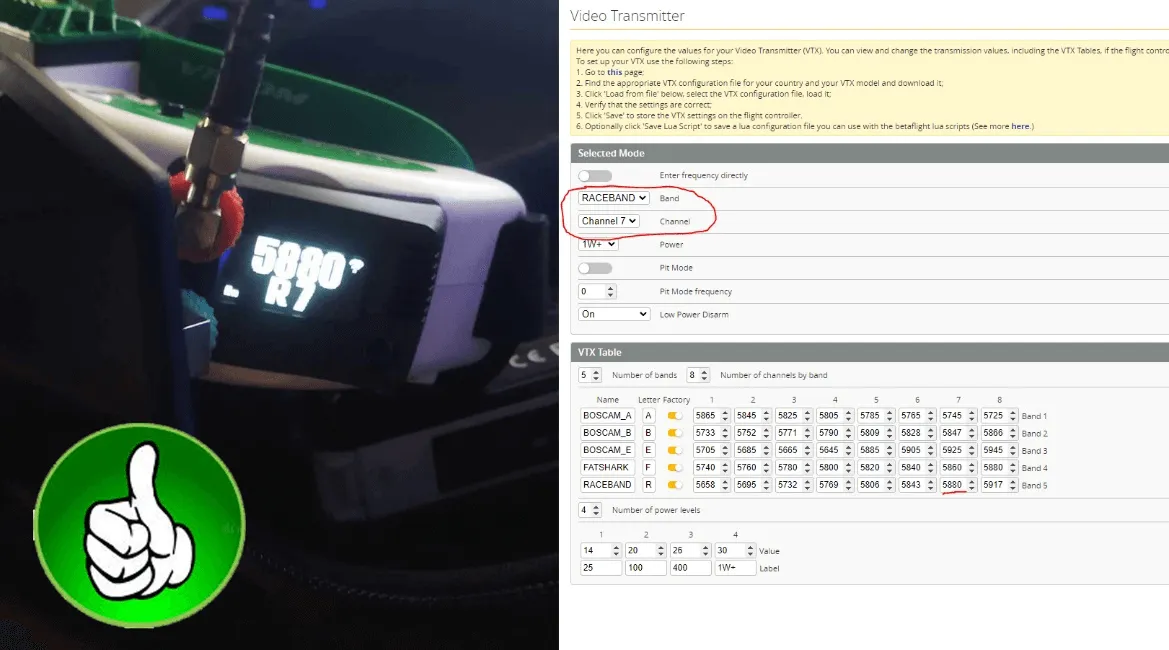
Set the Right Channel
I once made the mistake of relying on autoscan instead of manually setting my analog receiver to the correct channel. I strongly advise against this, as it can lead to crashes. Autoscan doesn’t always lock onto the strongest or most reliable channel, which can cause your video feed to cut out mid-flight. Always take the time to manually set your VTX to the correct channel and ensure it matches your goggles’ receiver for a stable and reliable connection.
Additionally, always use the same type of antenna (LHCP or RHCP) for both your quad and goggles to maintain optimal video performance. While it’s possible to see a feed when using mismatched antennas, it’s not reliable and can result in poor signal quality. Avoid mixing LHCP with RHCP antennas for consistent performance.
Betaflight PID Tuning and Other Settings to Improve FPV Drone Performance
Now that your quadcopter is physically assembled, the next step is to fine-tune it for peak performance. The most important aspect of tuning is adjusting the settings within the flight controller software. For this guide, we’ll focus on Betaflight firmware, which has improved significantly over the years. The default PID settings in Betaflight are optimized for most users, but to achieve maximum performance, you’ll need to fine-tune these settings for your specific drone configuration.
Why Tune Your PID Settings?
Although Betaflight’s default PIDs work well for general use, but your drone’s behavior can vary based on factors like frame geometry, motor configuration, and propeller size. Fine-tuning your PID settings can enhance responsiveness, stability, and overall handling, making your quadcopter feel more locked-in during flight.
Betaflight PID Tuning Guide
For those looking to take their drone performance to the next level, I recommend downloading the comprehensive PID tuning guide by Niro Natividad. This guide walks you through the process of adjusting your PID settings for optimal performance. You can download the guide here:
https://drive.google.com/file/d/1ArS6nd9XkKtgCToBQuGpYmD7H2kcEc6d/view?usp=drive_link
Using Presets for Optimal Tuning
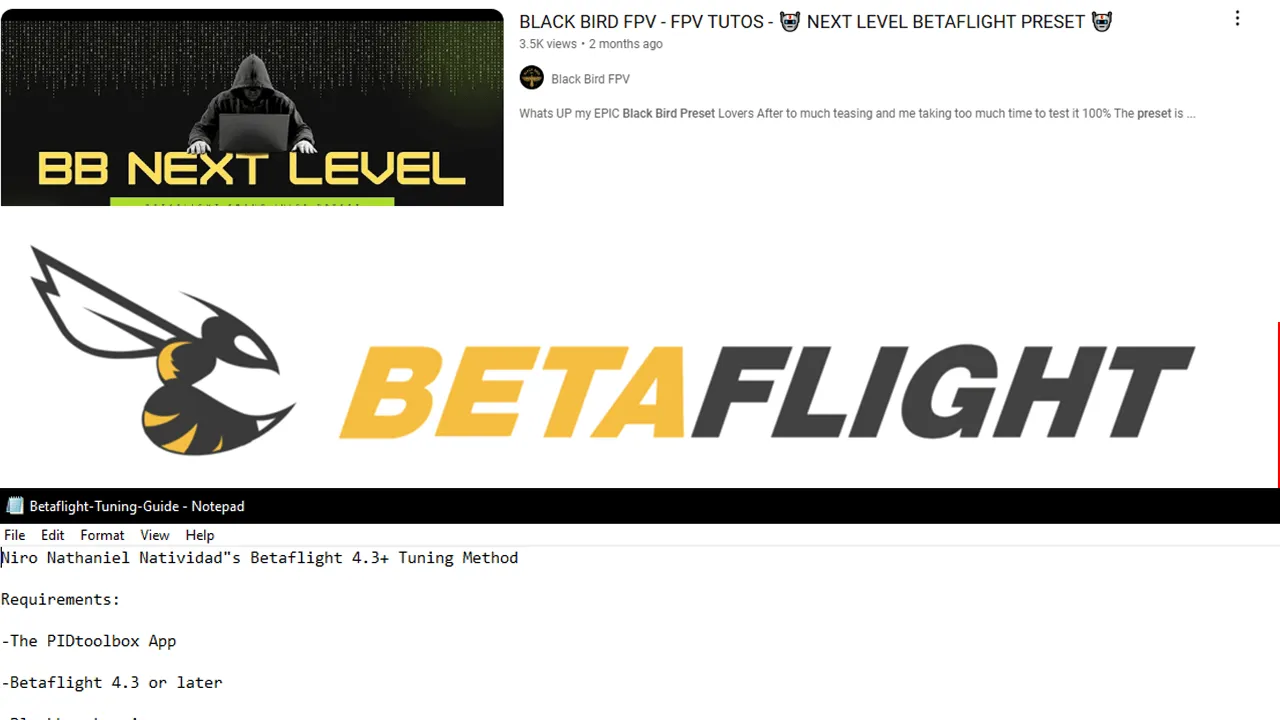
If you’re looking for a quick and effective tune, the Betaflight Preset Tab is an excellent resource for exploring presets created by other pilots. Just be sure your hardware matches the requirements for the selected preset. For pilots who prefer the SBANG SBANG style, the Black Bird FPV Next Level Tune Preset is a game-changer. Expertly designed, it enhances responsiveness and delivers exceptional performance—perfect for freestyle flying and advanced maneuvers.
Check out this tutorial on how to apply the Black Bird FPV Next Level Tune Preset:
Conclusion
By following these tips and utilizing the right resources, you’ll be able to achieve a finely-tuned drone with excellent performance, whether you’re flying for fun, racing, or freestyle acrobatics.
I hope this guide has given you valuable insights into optimizing your FPV drone’s performance. Whether you’re a beginner or an experienced pilot, small adjustments to your hardware and settings can have a huge impact on your flight experience. Tune your drone to match your style and enjoy smoother, more responsive flights.
Fly safe, and happy tuning!
